
Building a Home Lab: Chapter 2
16/07/2023
Hello! Welcome to the second chapter in my home lab series, today we will be going over uploading ISO images to the Proxmox instance you created in the chapter one in addition to setting up a Windows and Ubuntu virtual machine. A note before we start, we will be uploading and installing a Windows 10 machine, if you want to use your own images you can still follow the guide however the instructions will differ particularly depending on which distribution of Linux you may choose.
Uploading an ISO:
ISO files are effectively virtual CD’s containing large amounts of data, they are commonly used to create backups of video games or to store files used to install an operating system. Before we can upload the ISO images, we need to navigate to the IP address you assigned to the Proxmox instance and login using the root password you set in the previous chapter.
If you have forgotten the password, I would recommend plugging in a monitor, keyboard, and mouse physically into the Proxmox machine and follow the instructions provided in this article on the official Proxmox wiki (https://pve.proxmox.com/wiki/Root_Password_Reset). Effectively you are loading into a shell with admin permissions, mounting the disk and then manually resetting the password using the elevated permissions.
Once logged in navigate to the ‘local (Proxmox)’ node on the left-hand side of the screen and click on ISO image. You can either upload an ISO image from your local machine or download from a URL, effectively a ‘wget’ command.

The upload shouldn’t take to long as it is all done over your local network, once both images are uploaded then we can start creating our client machines.
Creating a virtual Machine:
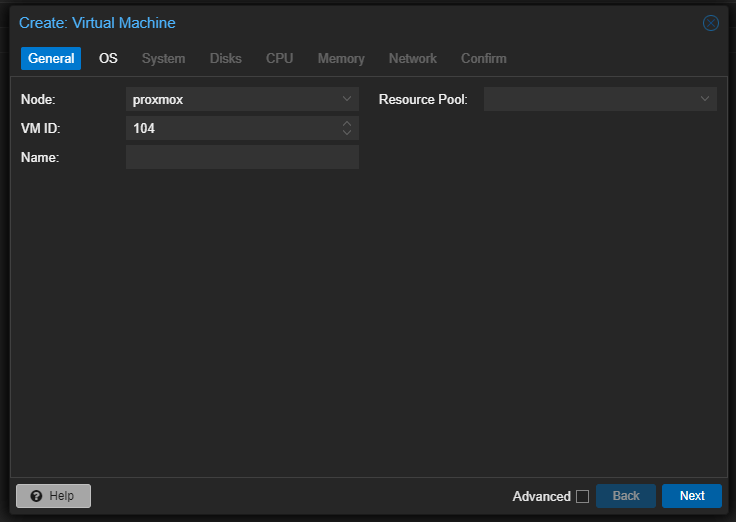
You can create a virtual machine by clicking the ‘Create VM’ button in the top right-hand side of the screen. This will bring you to the creation screen, from here you can assign the node that the VM will be apart of, the ID number of the virtual machine and the name of the machine.
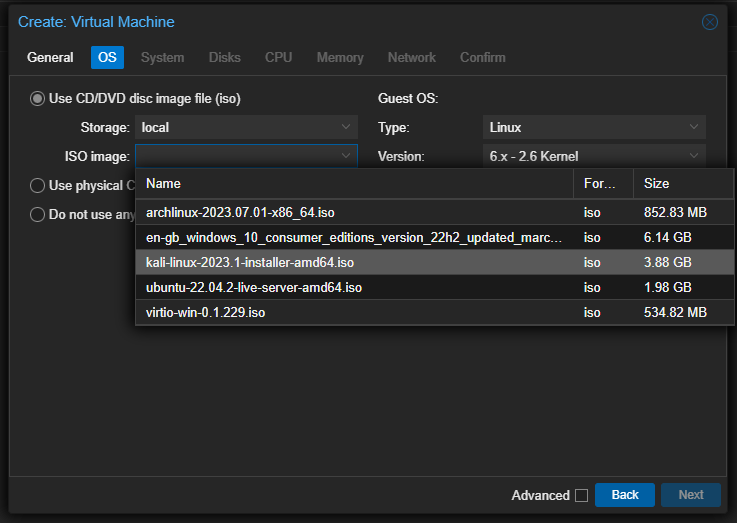
After that you then need to select the ISO that will be used to install the operating system, from here we can select our Windows 10 image that we uploaded earlier. We can then change the Guest OS to Microsoft Windows and the correct version. If you would rather use a bootable drive, you can select this option under the ‘Use physical CD/DVD Drive’.
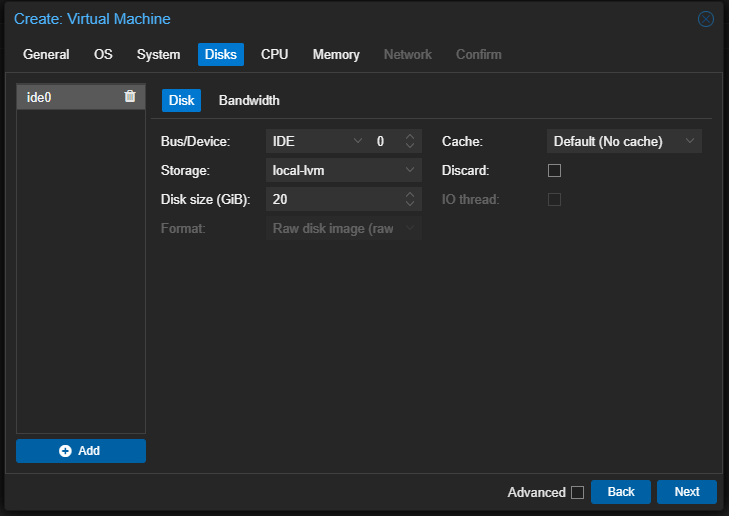
The majority of the system settings can be left as default, if you’re system has a graphics card you can define the connection type. I have left the graphic card settings as default as my machine has no dedicated graphics card.
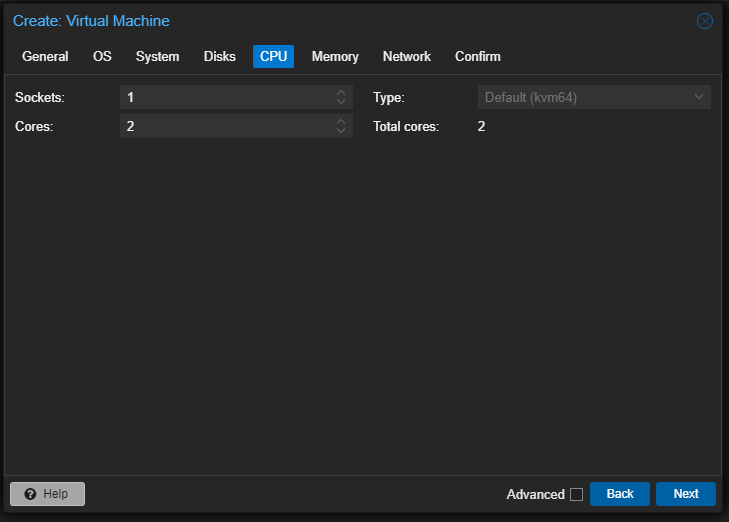
Similarly, when it comes to the CPU settings, I will only be assigning this Windows virtual machine two cores as it will be used primary for testing. However, if you want to assign greater resources to the machine, you can.
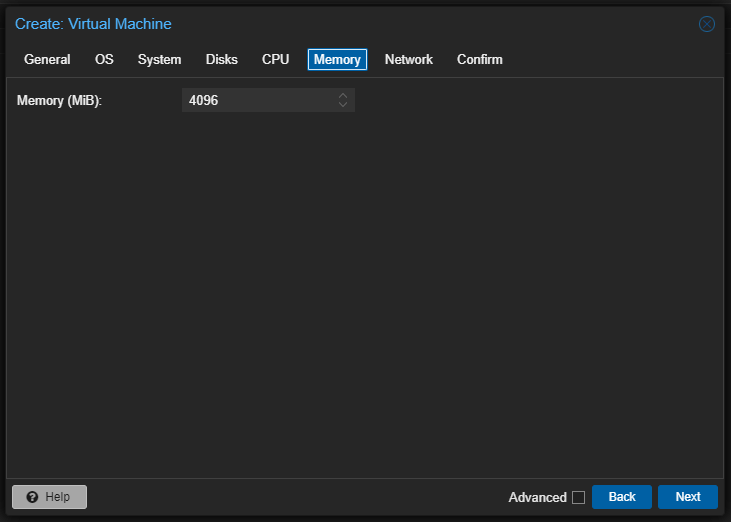
In regard to memory settings, I will be only assigning 4GB of RAM for the above reason.
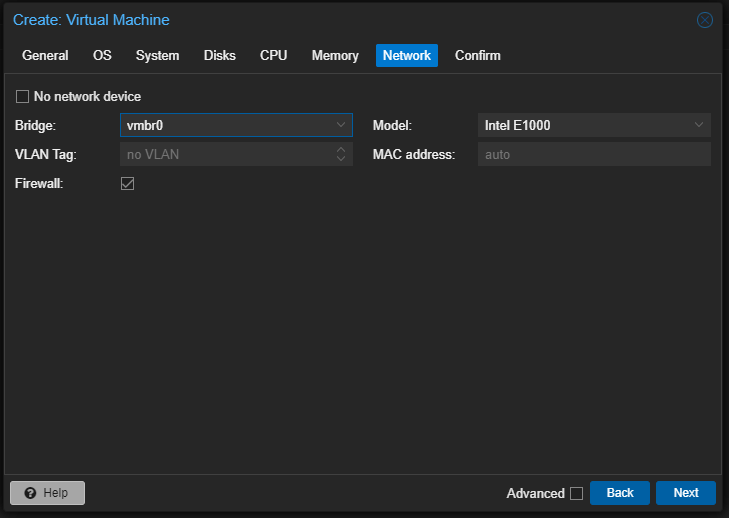
In terms of network settings, we will keep all the settings as default, we will return to these settings later on in the series. For the time being we are only interested in getting an internet connection.
The last tab allows us to review the settings that we have configured, once you are happy you can select finish and the virtual machine will be provisioned and created. The machine will then appear on the left-hand side of the screen, to start the configuration process select the machine and click the ‘Start’ button in the top right.
You can then go to the console tab where you can choose a GUI or a traditional terminal emulator to go through the first-time setup. There are other tabs you can interact with which we will go over in the coming chapters.
Mission Accomplished:
Hey Presto! You’ve created you’re first two virtual machines, both of these are client machines really designed to consume resources as opposed to host them. However, this will make sense in the next chapter as we will go over virtual networking using a pfsense virtual router. This will allow us to create a network that only our virtual machines can access which certainly comes with its advantages. Until then have a good one!